

Under lucka 11 ger Jenny Thörne med bloggen Jennys Pysselhörna oss en tut på hur man kan göra en enkel och fin brödkorg.
Liandlo ger fri frakt inom Sverige i dag, välj "hämtas i butik"
LE.Knappar bjuder också på fraktfritt, på ordrar över 150:-, kod ”julkalender”
Under the eleventh cardbox our member Jenny Thörne with the blog
Jennys Pysselhörna gives us an easy and pretty way to make a breadbasket.
Jennys Pysselhörna gives us an easy and pretty way to make a breadbasket.
Detta kommer du behöva:
Måttband eller annat mätdon
Passare (valfritt)
Måttband eller annat mätdon
Passare (valfritt)
Yttertyg
Tyg till foder
Symaskin
Symaskin
This is what you´ll need:
Tape meassure (or other meassuring device)
Tape meassure (or other meassuring device)
Passer (you can do without)
Fabric for outside
Fabric for liner
Sewingmashine

Börja
med att bestäm ett mått på bottenplattan till din brödkorg.
Jag
tycker 20 cm i diameter är lagom. Jag
använder mig av passare för att få till en jämn och fin cirkel,
den är inställd på 10 cm vilket ger mig en cirkel på 20 cm i
diameter.
För
att kunna rita mönsterdelen till sidorna på brödkorgen behöver
man ta reda på omkretsen av cirkeln. Det gör man enklast genom att
ta pi (3,14) x diametern
Vilket
blir: 3,14 x 20 = 62,8
Höjden
på korgen vill jag ha omkring 20 cm, mönsterdelen blir således 20
x 63 cm.
Start by deciding the bottom meassurment of your breadbasket. I think about 20 cm is just right. I use a passer to get an even circle, its set on 10 cm raduis that gives me a circel with the diameter of 20 cm.
To draw the pattern piece for the sides we need to figure out the girth of the circle. Easiest is to take pi (3,14) x the diameter.
This gives us 3,14 x 20 = 62,8
This gives us 3,14 x 20 = 62,8
I want my basket to be around 20 cm high, so the pattern piece must therefore be 20 x 63 cm.

Klipp
till 2 st bottenplattor, 1 av yttertyg och 1 av foder
och
2 sidodelar, 1 av yttertyg och 1 av foder.
Jag
har valt ett grövre bomullstyg till utsidan och en tunnare tyg till
foder.
När
jag klipper ut lägger jag på 1 cm sömnsmån på alla kanter.
Cut two bottom plates and two sidepieces, one in the liner and one in the outer fabric of each piece.
I chose a heavier woven cotton fabric for the outside and a thinner one for the liner.
Add one cm seamallowance all over when cutting.
I chose a heavier woven cotton fabric for the outside and a thinner one for the liner.
Add one cm seamallowance all over when cutting.


Sy
ihop kortsidorna på brödkorgens sidor räta mot räta till rundlar,
1 cm från kanten. När jag syr ihop fodertyget lämnar jag ca 5 cm
öppet på mitten för vändning. Stryk isär sömnsmånerna.
Sew the shortends together on both outer fabric and lining, right sides together, one cm from the edge. When I sew the lining I make sure to leave about 5 cm unsewn, to turn the whole thing through when done. Press the seamallowances.

Nåla
sedan bottenplattan till rundlarna räta mot räta och sy ihop 1 cm
från kanten, här behöver man vara med och kolla ordentligt när
man syr så det inte blir veck.
Pin the bottom plates to the cylinders you just made, right sides together usin one cm seamallowance. Be careful not to make creases.

Vräng
sedan foderdelen till rätan och stoppa foderdelen i ytterdelen,
passa sömmarna mot varandra, nåla och sy ihop ytterdel med foder
(räta mot räta).
Now turn the lining right side out and put it inside the outer piece, match the seams together. Pin and sew liner and outer piece together with right sides facing.

Vräng
nu brödkorgen till rätan och nåla och sy ihop vändningshålet
nära kanten.
Turn the whole thing right, pin and sew the turn hole close to the edge.
Turn the whole thing right, pin and sew the turn hole close to the edge.


För
en snygg finish brukar jag sy en stickning längs överkanten. Nåla
överkanten så den ligger snyggt och sy sedan en stickning ca 0,5cm
från kanten med stygnlängd 3,5
For a nice finnish, sew a stitching along the top. Pin so it lies nicely and then sew with long stitches about half a cm from the edge.
For a nice finnish, sew a stitching along the top. Pin so it lies nicely and then sew with long stitches about half a cm from the edge.
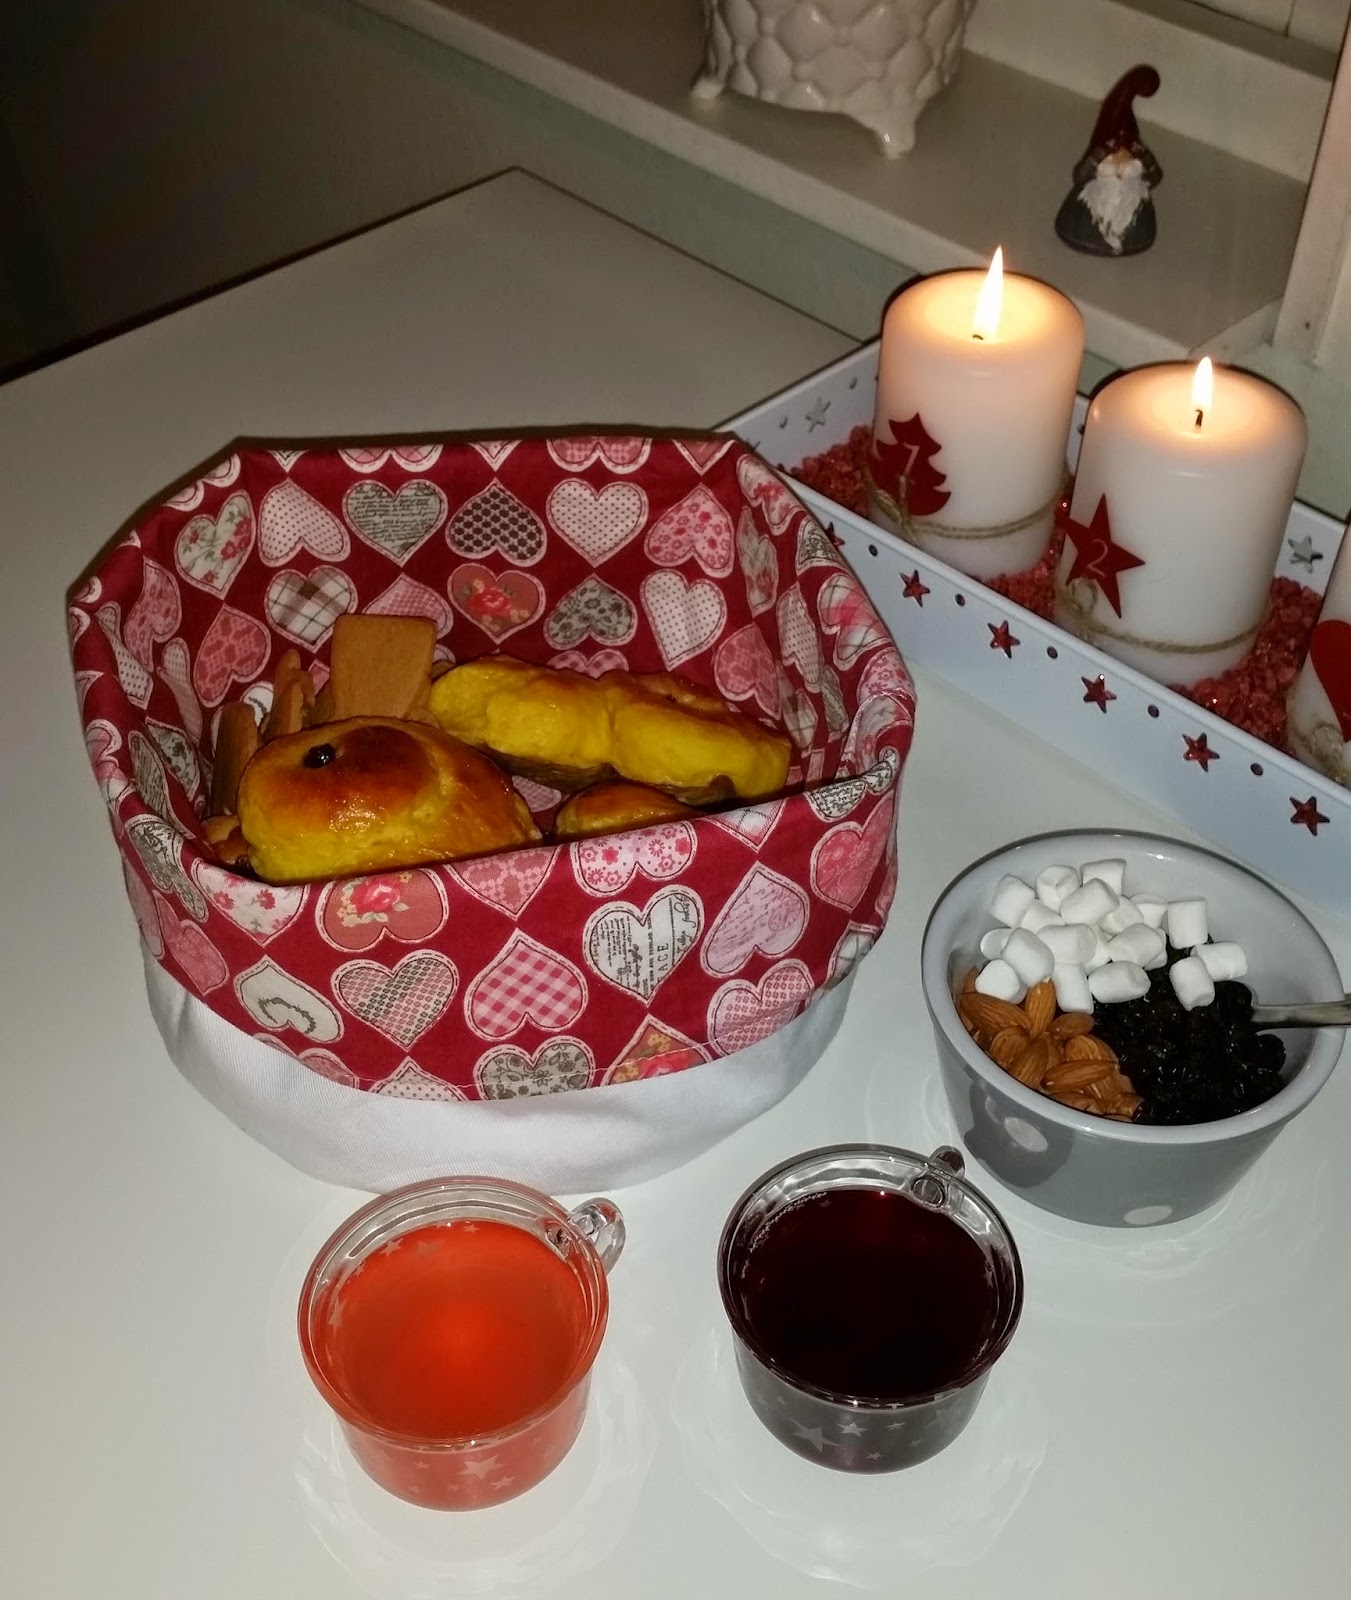
Färdig
att användas för julens alla godsaker!
Brödkorgen
kan med fördel sys till andra tillfällen också, gärna pimpad med
band, spets eller dylikt. Varför inte med öljetter i överkant med
snöre igenom så den kan stängas om man vill varmhålla bröd i
väntan på maten.
Lycka
till och god jul!
Ready to use with all the christmas delights!
The breadbasket can be sewn for other occations to, pimp it out with ribbons, lacing and other decorations to personalize.
Good luck and merry christmas!
Inga kommentarer:
Skicka en kommentar